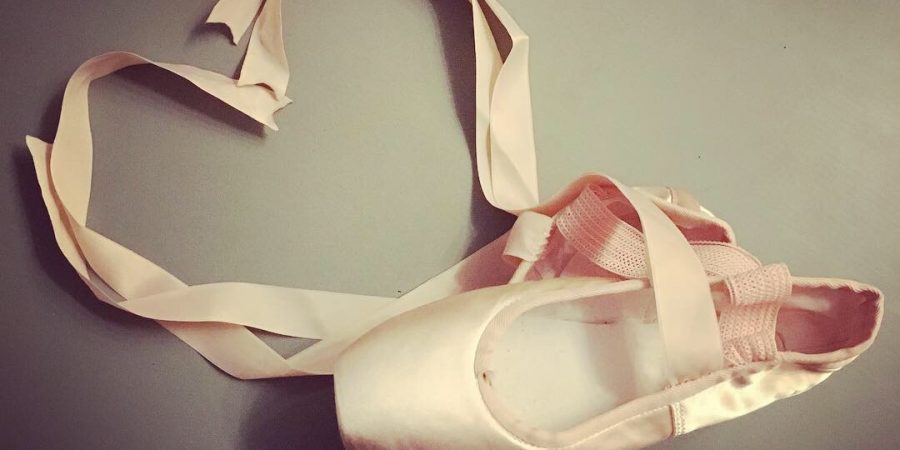
Here is a picture view of the ribbonification process of my new (Grishko Dreampointe!) shoes.
Enjoy!
PS: Also check out this great article on how to measure and position the ribbons/ elastic, as well as on how to tie pointe shoes.
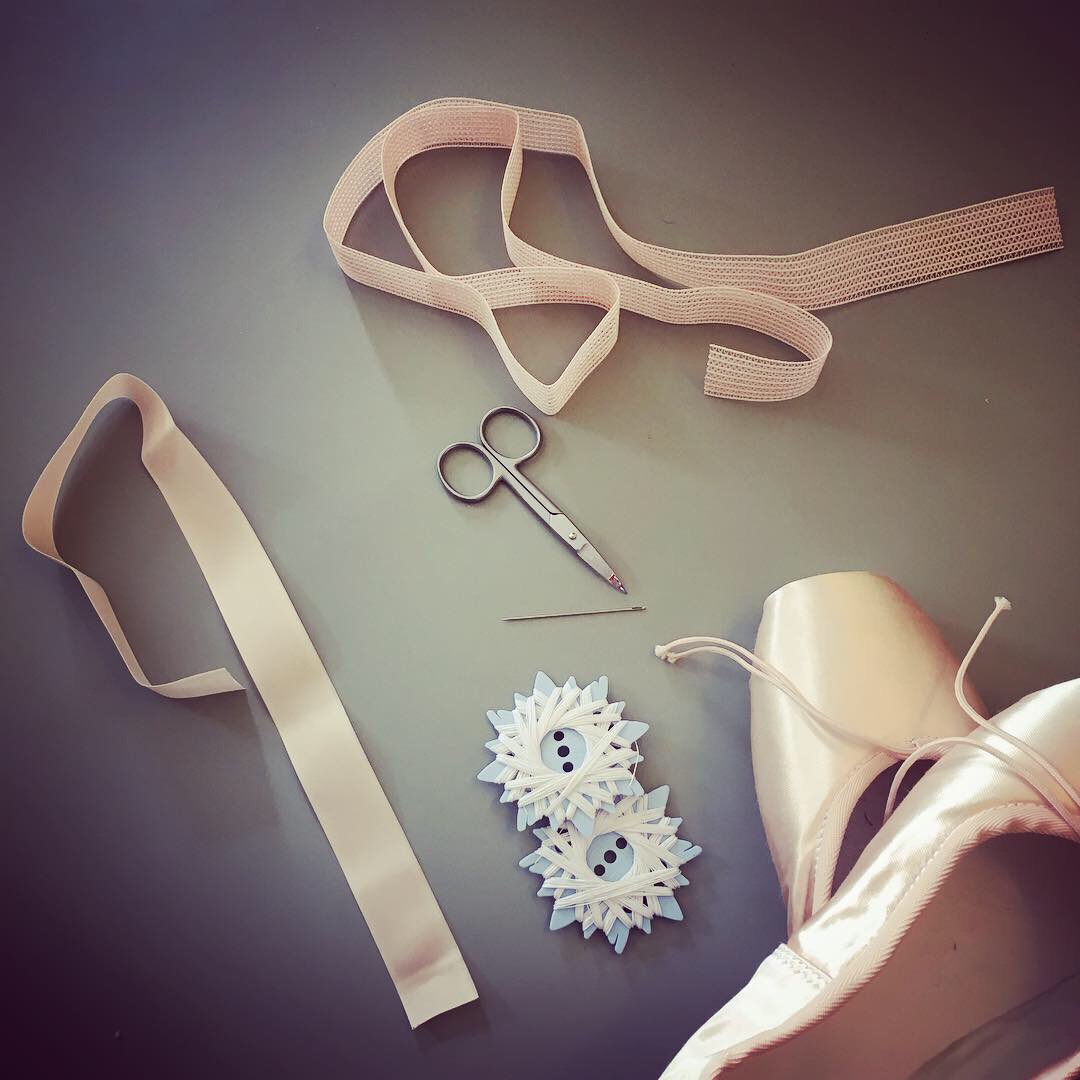
1. The Gathering (shoes, satin ribbons, elastic band, scissors, sturdy needle, sturdy thread)
Not shown in the picture: a ball point pen and a lighter.
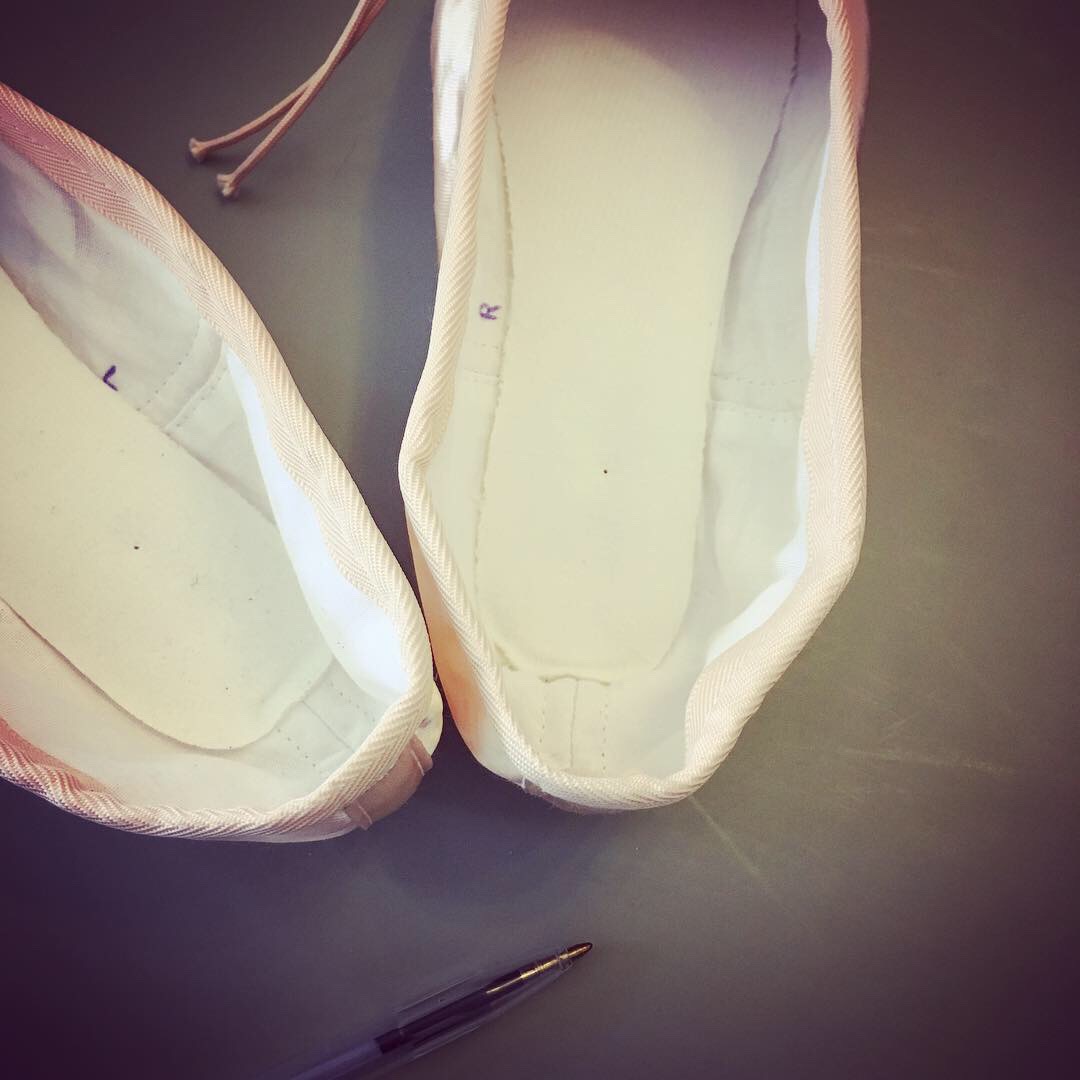
2. The Markening (marking the left and right shoe with a pen – I prefer to discreetly write a small ‘L’ and ‘R’ on the inside fabric)

3. The Measuring (I allow for a bit of space to ‘double the edge’ of the ribbon at it’s sewing point)
Note: Because of how pointe shoes are tied, the inside-of-the-foot ribbon will need to be a touch longer than the outside one.
You can take this into account before cutting your ribbon, or adjust them to exact size after sewing.
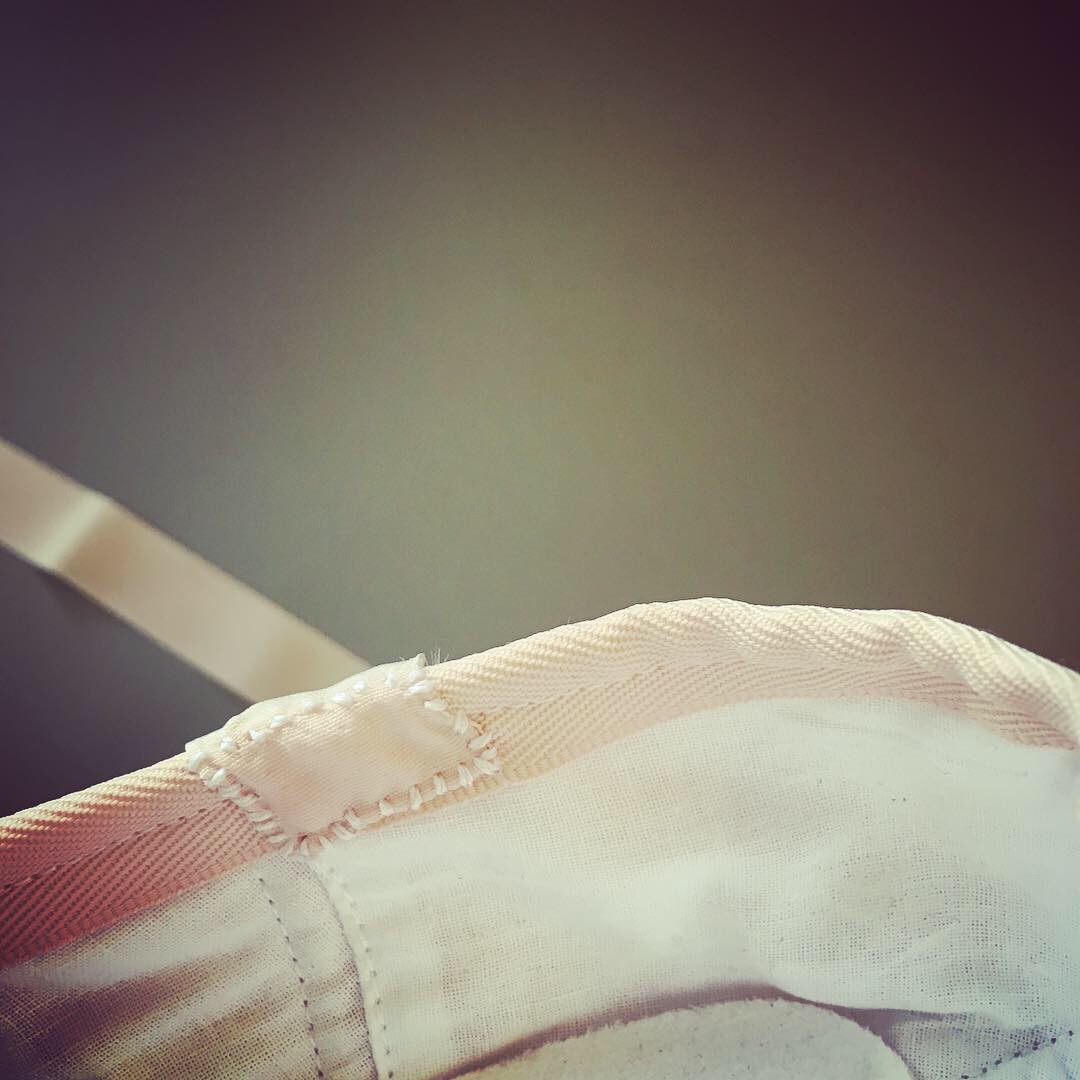
4. The Sewening. Where you actually sew the ribbons to the shoe, making sure to only pierce the lining, and avoiding sewing through the drawstring shaft.
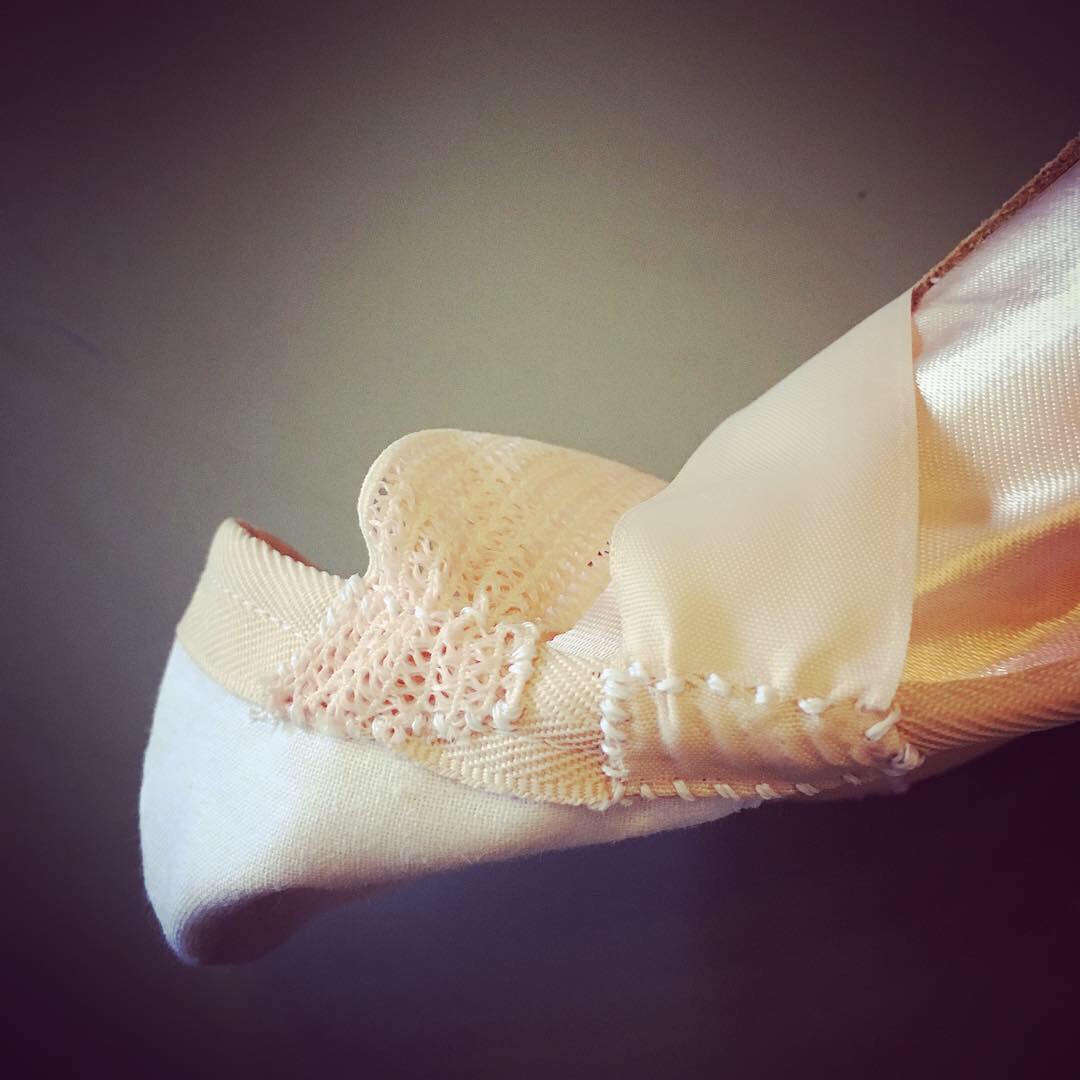
5. The Elasticification. Optionally, add a wide elastic band on the inside for extra shoe-security.
For this part I prefer to work with the shoe turned inside-out for comfort.

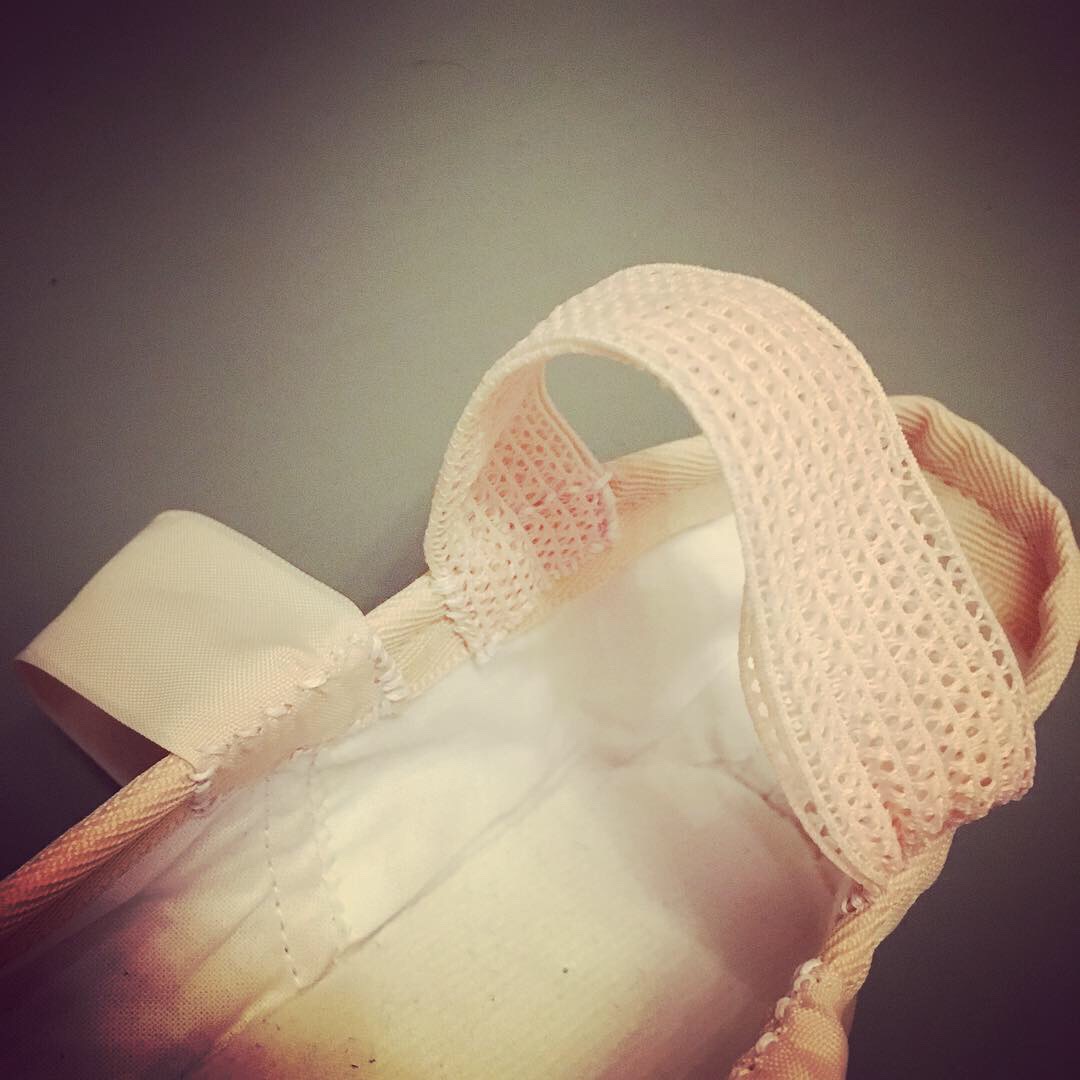
6. The Checkening. The picture above is more or less how the result should look.
Note: A tip from my teacher (Thank you Giulia!) for extra security it would be best to attach the elastic band even a bit further to the back (towards the heel) than shown in this picture.
7. The Double-Checkening. Be sure to try on the shoe – with your toe pad!) at latest at this point, including tying the ribbons and trying a plié and relevé, to make sure the elastic is not too tight or too loose.
If needed, undo and redo the side of the elastic that needs adjustment.
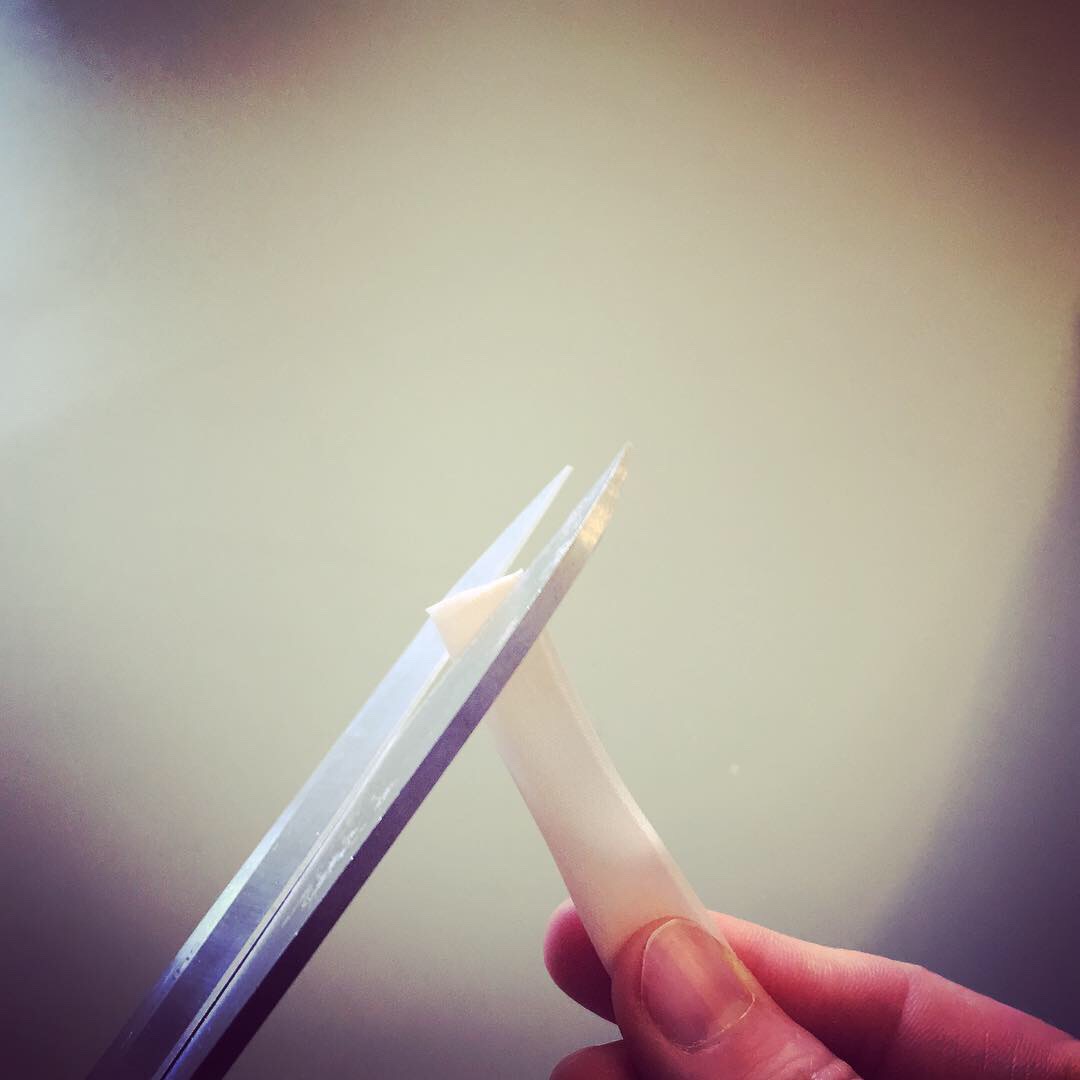
8. The Cuttening. After tying the ribbons and checking for length, fold the ribbon in half and cut diagonally, creating a ‘V’.

9. The Burnening. By far my favourite part.
Carefully scorch the cut edge of the ribbons to avoid fraying.
Note: This picture was taken by me, alone, with my phone, using a timer, and my knees, while I was doing the actual ribbon-burnening.
Don’t try this at home.
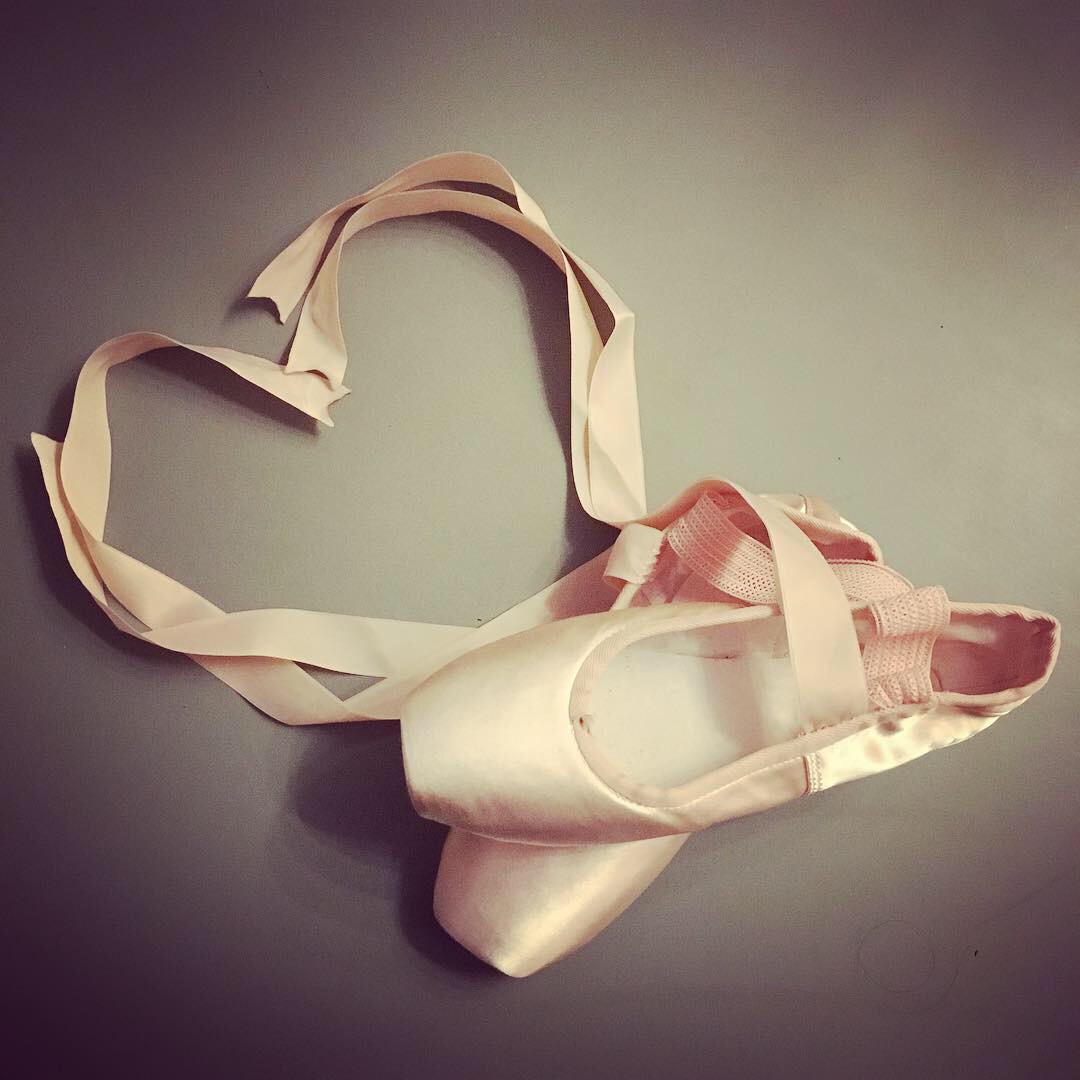
10. The Enjoyening. Ready. to. dance.
And you? What are your top tips for sewing new shoe ribbons? (or the equivalent action in your Art?)
What is your favourite part of the Process?